March 22, 2015
The final course I played on my California trip to the Bay Area was at Pasatiempo Golf Club. I have liked most Mackenzie courses I have played and though this would be a good way to spend my last day in California. Considering that this course was Mackenzie's longtime home, it only made sense.
When I woke up, it had just started raining. I can't really complain because I had experienced fantastic weather at the other courses on the trip. A quick ride from the hotel to the course and the weather became increasingly worse. This was going to be interesting to experience a course for the first time and battle the elements at the same time.
 |
| The entrance to Pasatiempo Golf Club. |
I arrived about 90 minutes before my tee time. I had heard they have a phenomenal breakfast at the Mackenzie Bar and Grill so made sure I planned for it. I can advise it was some of the best French toast I have ever had. The clubhouse is filled with memorable and I took a leisurely stroll with a cup of coffee as I took it all in.
After a few cups of coffee to help fight off the chill I knew was coming form the cool temperatures and rain, I caught the shuttle down to the driving range. After a bucket and a half of balls (I am starting to feel the cool weather in the mornings - must be getting old), I was ready to tee off.
- Holes 16 is listed as one of the top 100 holes in the world.
- Hole 16 is also listed as one of the top 18 best greensites in the world.
- Finally, hole 16 is listed as one of the top 18 holes ever designed by Alistair Mackenzie.
At the starter's area, I was introduced to my three playing companions for the day. There was a married couple from just down the street (whom I had a lovely late afternoon lunch at the Tap Room after the round). I was also pleasantly surprised that Bob Beck, Pasatiempo's historian, would be joining us for the round. I don't know if the club planned it that way, or if it was just happenstance, but it made a good round simply fantastic as I learned about the history of the course as we played through it!
We opted to play from the middle tees on this day, mostly due to the weather. They would present enough of a challenge with a 70.8/136 playing just over 6100 yards. Luckily, as it got later in the morning and into early afternoon, the weather started to clear and we did see some blue sky.
Most hole descriptions will be from Ken Woods, head golf pro at Pasatiempo.
Hole one is a 457 yard par 4.Converted from a 5 par to the 457 yard 4-par makes this hole more than a challenge to start the round. You look straight down this hole, over the green and usually out into the Pacific Ocean (though I didn't see it until we finished the round and were back at the clubhouse). A beautiful, difficult opening tee shot leaves you either a lay out or a long shot over a protective green side bunker.
 |
| A look down the fairway from the 1st tee box. |
 |
| A look towards the 1st green from approximately 120 yards out. |
Hole 2 is a 420 yard par 4. From the tee of this par 4, it is easy to be lulled into a false sense of security. While it is a generous driving hole with plenty of room all around, the fairway does narrow closer to the green. Drive the ball to the right off the tee as the fairway slopes right to left down toward some menacing rough and a recently-restored fairway bunker.
 |
| A look down the fairway from the 2nd tee box. |
The narrow opening to the green will definitely grab full attention on the second shot which calls for a mid to long iron and must be precise to keep away from trouble from substantial traps on both sides of the green. If possible, land to the right side of the green to counteract, if not take advantage of, the hard right to left cant.
 |
| A look into the 2nd green from 110 yards out. |
 |
| A closer look at the 2nd green. |
The third hole is a 195 yard par 3. The hole requires a solid two-iron or five-wood off the tee. Shorter hitters should play left of the recently restored bunker in the middle of the fairway. Miss the green to the right and it will be the fortunate golfer who walks away with a bogey. A deep bunker to the right swallows errant balls and a large Cypress tree guards the putting surface, which is one of the most treacherous on the course, sloping severely back to front. Make sure to stay below the hole — a piece of advice that holds true to a greater or lesser extent to virtually every green on the course.
 |
| A look onto the green from the 3rd tee box. |
 |
| A closer look at the 3rd green. |
The fourth hole is a par 4 that plays 358 yards long. A well positioned tee shot is a must, so it's probably best to hit a three wood, taking aim at the left flank as the right holds two fairway bunkers. The approach shot is a four or five-iron to a long, narrow green surrounded by bunkers. Disaster awaits the player missing his second shot right of the green where plenty of trouble shot opportunities are created by two bunkers and a steep drop off. The drop off actually begins on the green itself with the back right quadrant feeding down to a bowl.
 |
| A look down the fairway from the 4th tee box. |
 |
| A look into the 4th green from 120 yards out. |
Hole five is a par 3 that plays 174 yards. This medium, uphill par 3 requires a carry of 180 yards to make it safely to the green. Select enough club to fly the ball to the green in order to escape the gaping bunker in front that gobbles up tentative, short shots. Be very careful with club selection because it's an almost sure bogey if the shot is long, thereby necessitating a chip back onto a green falling away toward the front. Stay below the hole and to the right.
 |
| A look into the green from the 5th tee box. |
 |
| A closer look at the 5th green. |
The sixth hole, a 516 yard par 5, is the first par 5 on the course. Hit it far but keep it straight down the outstretched and narrow tree-lined corridor. A driver must find the middle of the fairway since out-of-bounds runs down the entire length of the left side of the hole and comes into play on the right for your drive. Finding the fairway with the drive, be smart and lay up with an iron that can be controlled to take out-of-bounds (on the left) out of play. Playing the hole aggressively carries no small risk. At the 150 yard marker turn left and wave to Alister MacKenzie’s ghost; the MacKenzie home is approximately 100 yards from the green. By the way, an extra club length should be added when the pin is cut at the rear of this long green.
 |
| A look down the fairway from the 6th tee box. |
 |
| A look down the fairway from just over top of the hill. |
 |
| A look into the 6th green from 150 yards out. |
 |
| The MacKenzie home. |
 |
| A closer look into the 6th green. |
 |
| A plaque, located just outside of the MacKenzie home. |
The 7th hole is a 335 yard, par 4. The narrowest hole on the golf course, it is a par 4 that forces most golfers to reach for their “straight” club off the tee. A more generous landing area in the fairway awaits the courageous player who uses a driver. Either way, stay to the left of center of the fairway, which falls down to the right with a large fairway bunker reachable by longer hitters. The approach shot with a mid to long iron must be on target and come in high to avoid the four greenside bunkers protecting the green.
 |
| A look down the fairway from the 7th tee box. |
 |
| A look into the 7th green from 150 yards out. |
 |
| A closer look at the 7th green. |
The third par three on the front 9, the 8th hole plays to 162 yards. Not as demanding as the first two par 3's on the front side, the eighth hole requires a solid iron shot — usually a four or five-iron — to a severely sloped green where three-putts are a way of life. The putting green, very wide and canted back to front, is one of the most difficult on the course and demands a delicate touch, especially of the player having to putt downhill. Landing below the hole is imperative.
 |
| A look into the green from the 8th tee box. |
The ninth hole is a 473 yard par 5. The par-5 ninth is a chance to score a birdie if played smartly rather than greedily. Although aggression is sometimes rewarded, a well-placed drive kept right of the two fairway bunkers 224 yards out on the left flank, and a controlled second shot—a long iron—that steers clear of the thicket of trees lurking along the right will set up an easy pitch to the green. Beware of the out-of-bounds marker on the left side of the green and avoid the bunkers in front of the green.
 |
| A look down the fairway from the 9th tee box, |
 |
| A look down the fairway from the slight dogleg. |
 |
| A look onto the 9th green from 70 yards out. |
 |
| A look back onto the 9th green from the right side. |
The tenth hole is a 440 yard par 4. A dog-leg par 4, the 10th hole features a series of intimidating, but conquerable, ravines. The drive must carry approximately 189 yards to clear the first barranca, leaving a second shot that should be played using a three-wood or two-iron. The second shot is downhill to a sloping fairway and must be accurate—right, left and short all add up to extra strokes. A new trap complex has been recently added to the left side of the fairway in front of the green as part of the MacKenzie restoration project.
 |
| A look down the fairway from the 10th tee box. |
 |
| A look down towards the green from the top of the hill. |
 |
| A closer look onto the 10th green. |
The eleventh hole is a 379 yard par 4. Don't be fooled by the distance of the hole. The 11th is a difficult, entirely uphill par 4 that has acted as the spoiler to many a good round. A long and straight drive that finds the fairway is a must. Be careful not to hook. The second shot is a long iron over a deep barranca that opens at the very front edge of the green. A useful rule of thumb is to take an extra club length on the approach, but stay below the hole, avoid downhill putts at all cost. The putting green is one of the toughest on the course, so even when on in regulation, don't relax.
 |
| A look down the fairway from the 11th tee box, |
 |
| A look towards the 11th green from 250 yards out. |
 |
| A closer look at the 11th green. |
 |
| Another look at the 11th green. |
The 12th tee box was under repair this day so we played from temporary tee boxes. Usualyl the 12th hole plays as a 373 yard par 4. Approximately 120 yards were cut from this hole on this day. It is easy to become swept up in the panoramic view of the bay driving off the highly elevated tee, but maintain concentration. Play the drive down the right side of the wide fairway and let the ball run down the slope. Land too far left and risk getting blocked on the second shot. Closer to the green, the fairway narrows to a skimpy tunnel of trees dotted with depressions that toy with errant shots. The approach shot must be played directly onto the green, as trouble waits in front in the forms of a shallow valley and fronting bunkers. The green is relatively flat but sneaky tough.
 |
| A look down the fairway from the temporary tee box for number 12. |
 |
| A look into the 12th green from 150 yards out. |
The thirteenth hole is a 485 yard par 5. The final par 5 on the course, the 13th is also the widest and the easiest. If there is one opportunity where aggressiveness carries the greatest reward to risk, now is the time for big hitters to go for the green in two. Definitely play the driver off the tee to make the most of the extra fairway. The second shot is either a three-wood or a solid long iron that must find the center of the fairway to leave a short approach to the green. Don't run the approach shot onto the green because the surrounding bunkers will snare the ball. Instead, come in high with a short iron to a “mickey mouse” shaped green.
 |
| A look down the fairway from the 13th tee box. |
 |
| A look into the 13th green from 200 yards out. |
 |
| A closer look at the 13th green complex. |
The fourteenth hole is a par 4 that plays to 384 yards. A simple looking tee shot — until it disappears down into an irregular grassy swale that wanders down the left side of the fairway. Land here and the green may not be visible, so keep right. An uneven lie may await the second shot — usually a mid-iron — that must get airborne to carry huge oaks extending into the fairway from the right side. Go for the left of the green not only to avoid the trees but also the large, menacing trap hugging the right of the open, flat putting surface.
 |
| A look down the fairway from the 14th tee box. |
 |
| A look into the 14th green from 130 yards out. |
The fifteenth hole, my favorite on the course, is a 120 yard par 3. A seductive little par 3 that has more hazards than one realizes when standing on the tee. When the pin is placed on the right side, be careful to avoid the pesky oak tree that has been known to reach out and bat balls down into a water hazard. From there, a bogey four is a great success. The smartest and safest route is playing a six or seven-iron, always coming into the hole from the left. Be sure to take enough club, because a ball landing short can spin off the green into the rough.
 |
| A look onto the green from the 15th tee box. |
 |
| A different look onto the 15th green from the trail to the 16th tee box. |
The sixteenth hole is a 365 yard par 4. This is the hole that has received all of the acclaim and is one of the top 100 holes in the world, it was MacKenzie's favorite par 4. A blind tee shot calls for some intelligent planning, precise placement with a draw. Too far left, the ball ends up in a barranca, and too far right is OB. Even the best drive leaves a long, downhill second shot to a three-tiered elevated green, guarded by an array of green side bunkers. Be on target or risk severe penalties; the green rests behind a deep barranca and stream below.
 |
| A look down the fairway from the 16th tee box. |
 |
| A look into the enormous 16th green from 170 yards out. |
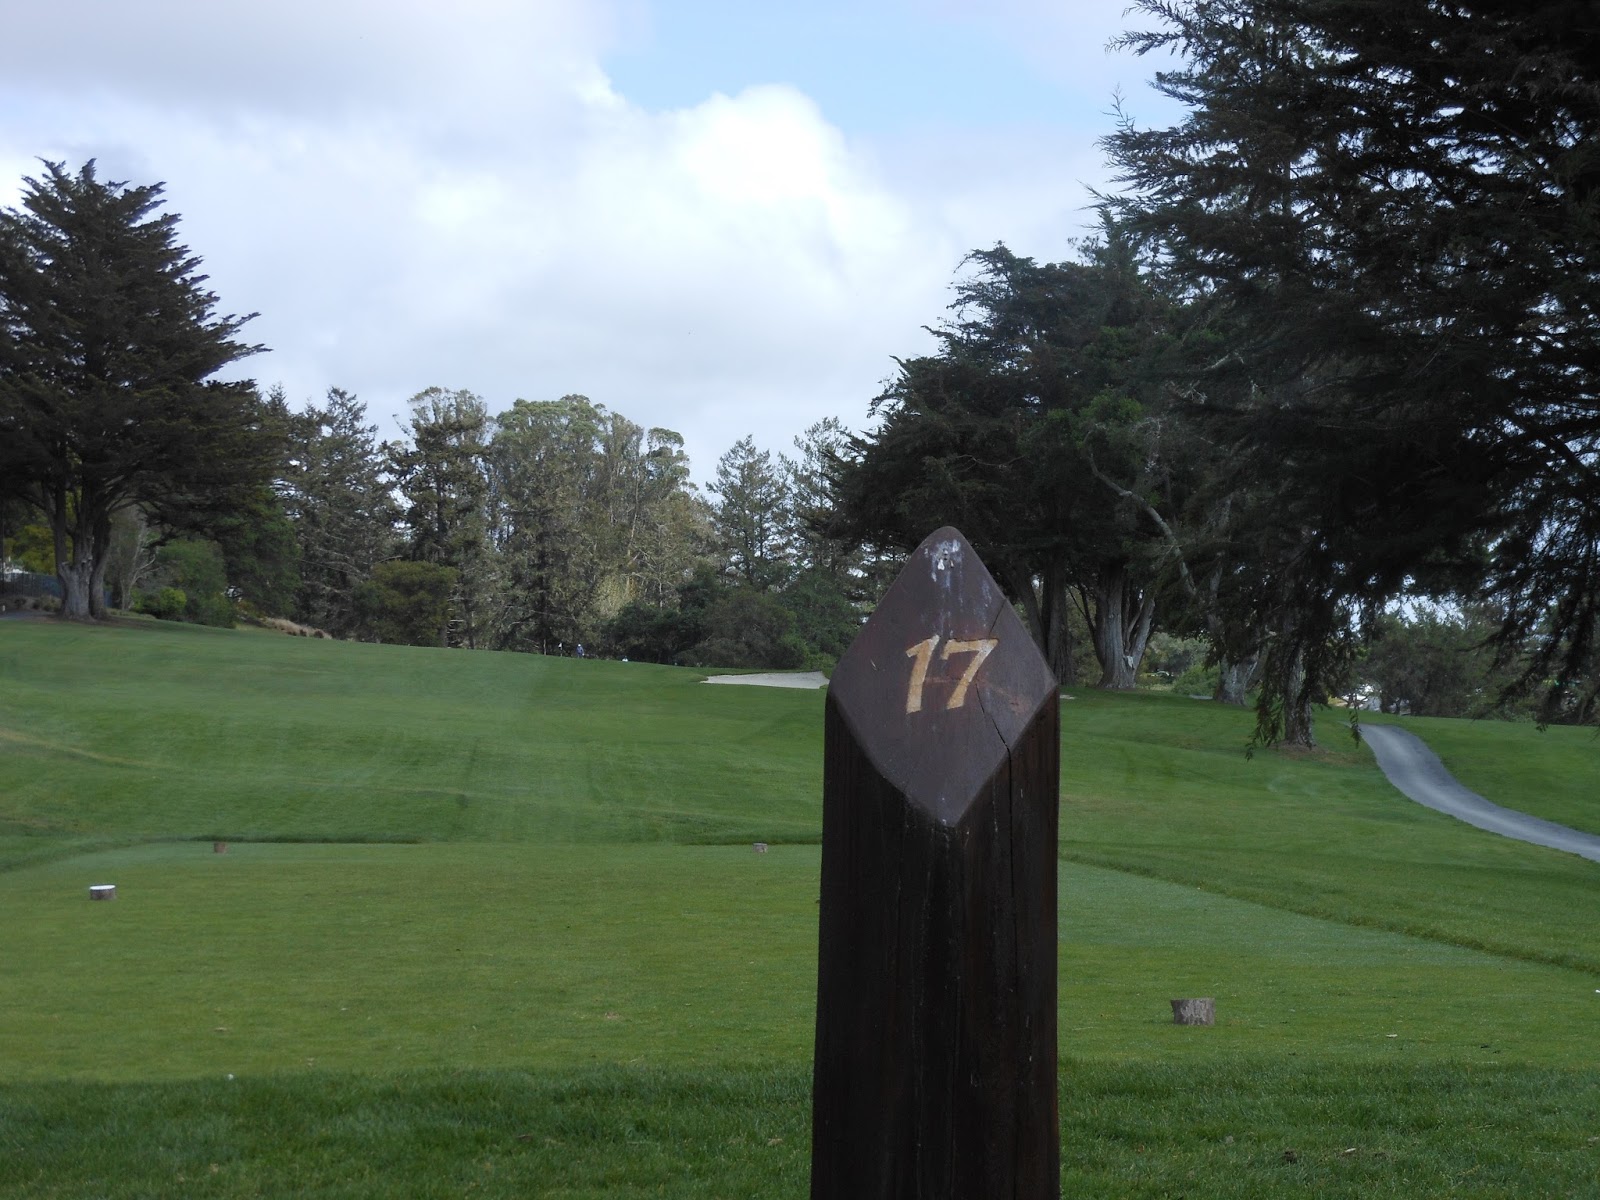
The seventeenth hole is a par 4 that plays to 363 yard and is a relatively short par 4 with a wide fairway and a large green. Leave the driver in the bag and hit either a three-wood or two-iron to make sure the tee shot finds the tree-lined fairway. Unless you’re a short hitter, the approach shot is no more than a five or six-iron, but take enough club as the shot is all uphill. Be cautious of the hazard which now comes into play on a back hold location.
 |
| A look up the fairway from the 17th tee box. |
 |
| A closer look at the 17th green. |
The eighteenth hole is a 143 yard par 3. The finishing hole requires a 140-yard carry over a huge barranca that is surrounded by trees and fronted by two recently-restored greenside bunkers. Usually a four or five-iron, an extra club length may be called for on this downhill tee shot, depending on headlong breezes that are not detectable from ground level. Look at the tree tops for guidance. Towering trees on the right negate many shots, while shots left short of the hole spin back toward the deep canyon guarding the green—one of Pasatiempo’s trickiest. This is not the hole to falter on...play it bravely.
 |
A look into the green from the 18th tee box.
Pasatiempo was a great way to finish my trip to the Bay Area. Now that I live only a few hours drive away, I hope to get here more often and on a sunny day the next time. If you have an extra day in the San Francisco area, I highly recommend Pasatiempo GC.
|